Measuring Planck's Constant
Project completed: August 2019
Summary
In this project, I designed and manufactured a device which is easy to assemble and can be used to aid in the calculation of Planck’s constant.
Background
In my grade 12 Physics class, we had a lab where we tried to measure Planck’s constant. At the time, it took a significant amount of time to assemble the test apparatus. When the apparatus was assembled, any movement caused the wires to be come disconnected. This caused frustrations and ultimately lead to data being significantly off from the correct value. At the end of the lab period, my teacher mentioned, anyone who wanted to make a device which makes this lab easier to complete, they would get 100% on this units assignment. I took him up on his offer. Upon talking with the teacher about what problems the device needed to solve along with the experience I had with using the old apparatus, I had a good idea for a design for the device.
Design
One of the key aspects of the design is a simple to use device. When I did the lab, one of the things which was annoying was how finicky the wires were. The easiest and cheapest way to accomplish this task was to solder everything to a custom PCB. The other design decision was to have it easier for the multimeter to probe the voltage drop across the LED. This was accomplished by adding test point connections next to the LED.
Manufacturing and Testing
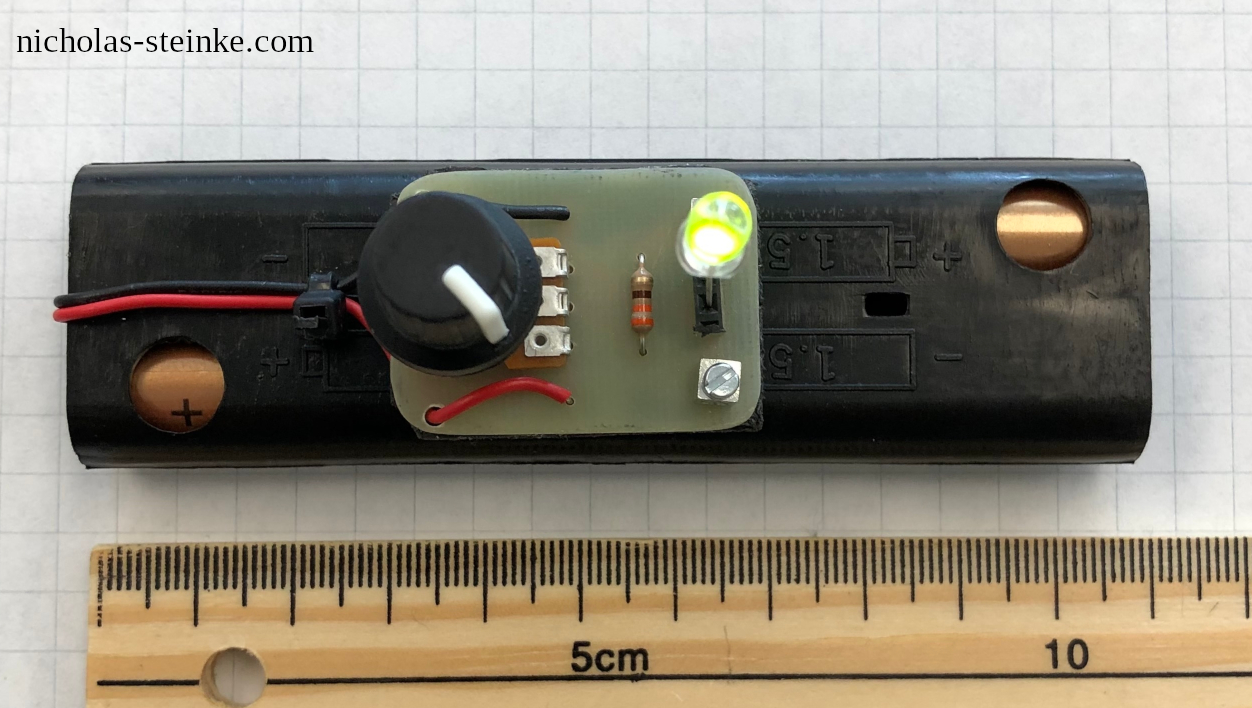
Since I had only a week to manufacture everything, I decided to etch the PCBs myself. This resulted in a lower cost device and a quicker turn around time to manufacture it. All of the savings comes from the shipping. The manufacturing and testing part when relatively smoothly for the project. The only issue noticed was the knob for the potentiometer was a bit loose on potentiometer. This was easily solved with a bit of tape to increase the size of the shaft. Every single device was thoroughly tested for correct operation prior to giving the device to the teacher.
Final Result
The device met all of the criteria. At the time of writing this post, it has been about two years since I have manufactured the device. When I asked the teacher how the device is working, their response was “I have been using the Planck’s Constant device to great effect!” Below are a few images the teacher took of the device in operation.
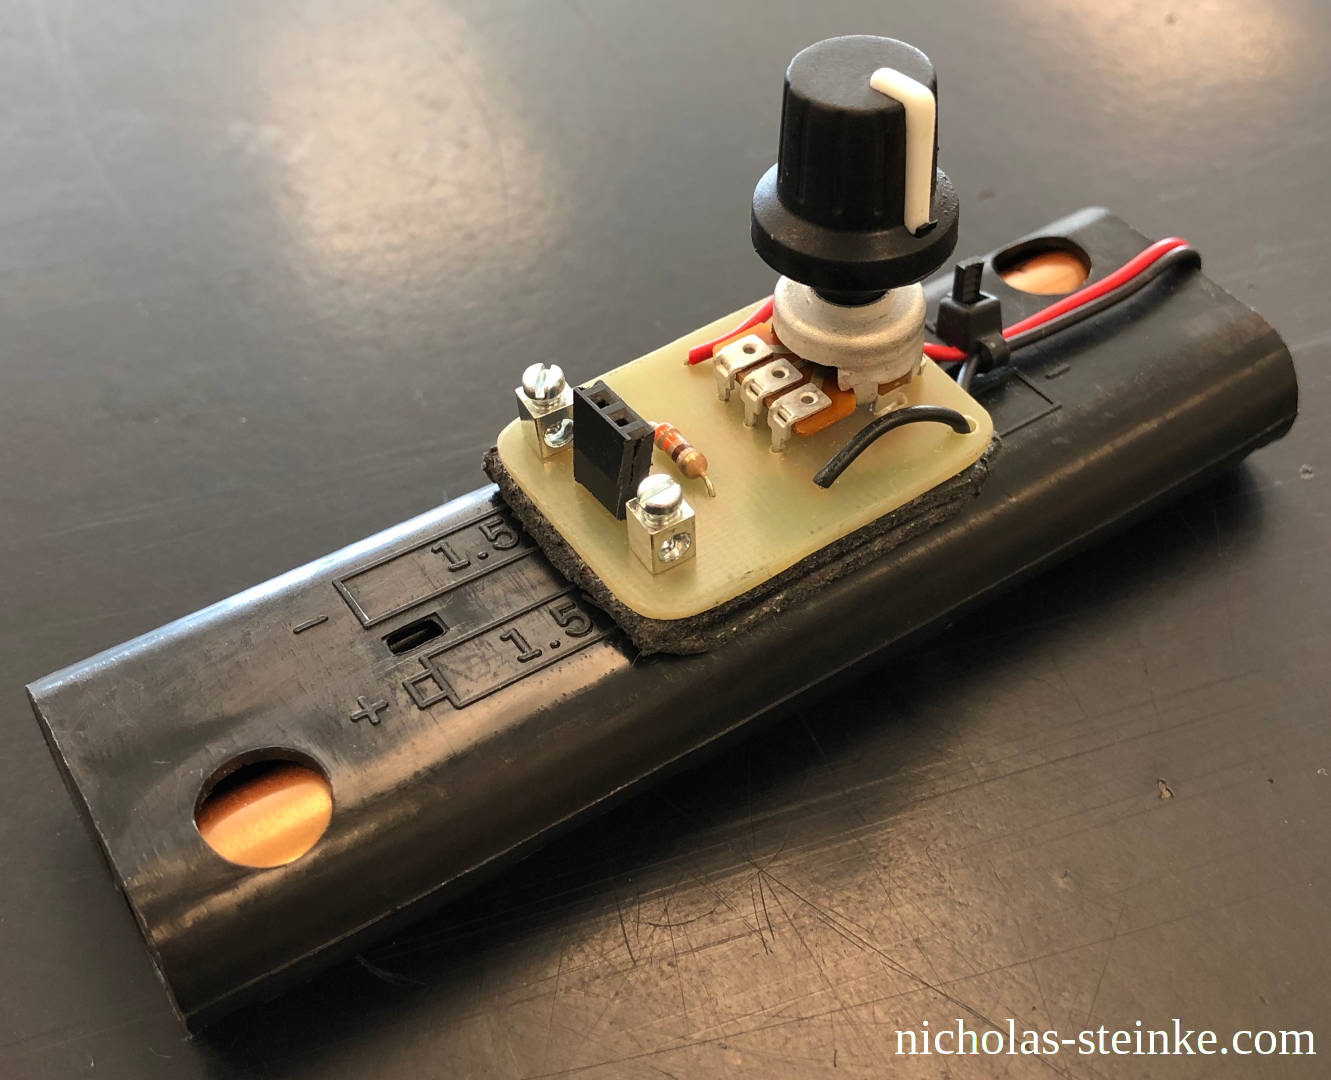
Part List
- Potentiometer
- Used P120PK-Y25BR10K from TT Electronics/BI
- Digikey part number: 987-1710-ND
- Potentiometer knob
- Used 2064 from Adafruit
- Digikey part number: 1528-2164-ND
- 330 ohm resistor
- Through hole
- Single sided copper clad
- Test point pins
- Used 8730 from Keystone Electronics
- Digikey part number: 36-8730-ND
- Female header pins
- 2.54 mm spacing
- 4 AA battery holder
- Used BH34AAW from MPD (Memory Protection Devices)
- Digikey part number: BH34AAW-ND
- Double sided tape